Before you buy an atomizer, what you need to know about atomizer?
With the fast development of Electronic-cigarette industry, there are plenty of e-cigarette products for customers to make choice, especially for the atomizer which is the necessary part of vaping. No matter whether you are new to vaping or a more experienced vapor looking for an atomizer, choosing a ‘suitable atomizer’ that fits your style and your budget is definite important. If you are an experienced vapor, then you will have your ‘own rule or standard’; however, if you are a new or relatively inexperienced vapor, then it needs take time to figure out something firstly.
We’re going to start with basics for new vapors, what an atomizer does, how to classify the atomizer, and how to set up your atomizer. Then, how to wick or change coils of atomizer, how to refill and avoid leaking issue and how to vape without dry burnt.
WHAT AN ATOMIZER DOES
Atomizer is an essential part of vaping that is heating coils made from resistance wire which create vapor out of liquid when heated. With respect to vaping, references to atomizers it means the coil itself or the device containing it also with e-liquid; it is a difficult time to understand what others are talking about it, just don’t make confusion about it, and once you know how to classify its types, it is more easy to figure out it.
How to classify the ATOMIZER
As a new vapor, you may confuse by the difference between RBA and sub-ohm tanks? And wanna to figure out what is RDA/RTA or RDTA? How to classify the atomizers? Then we will talk about atomizer types based on two aspects: construction and function.
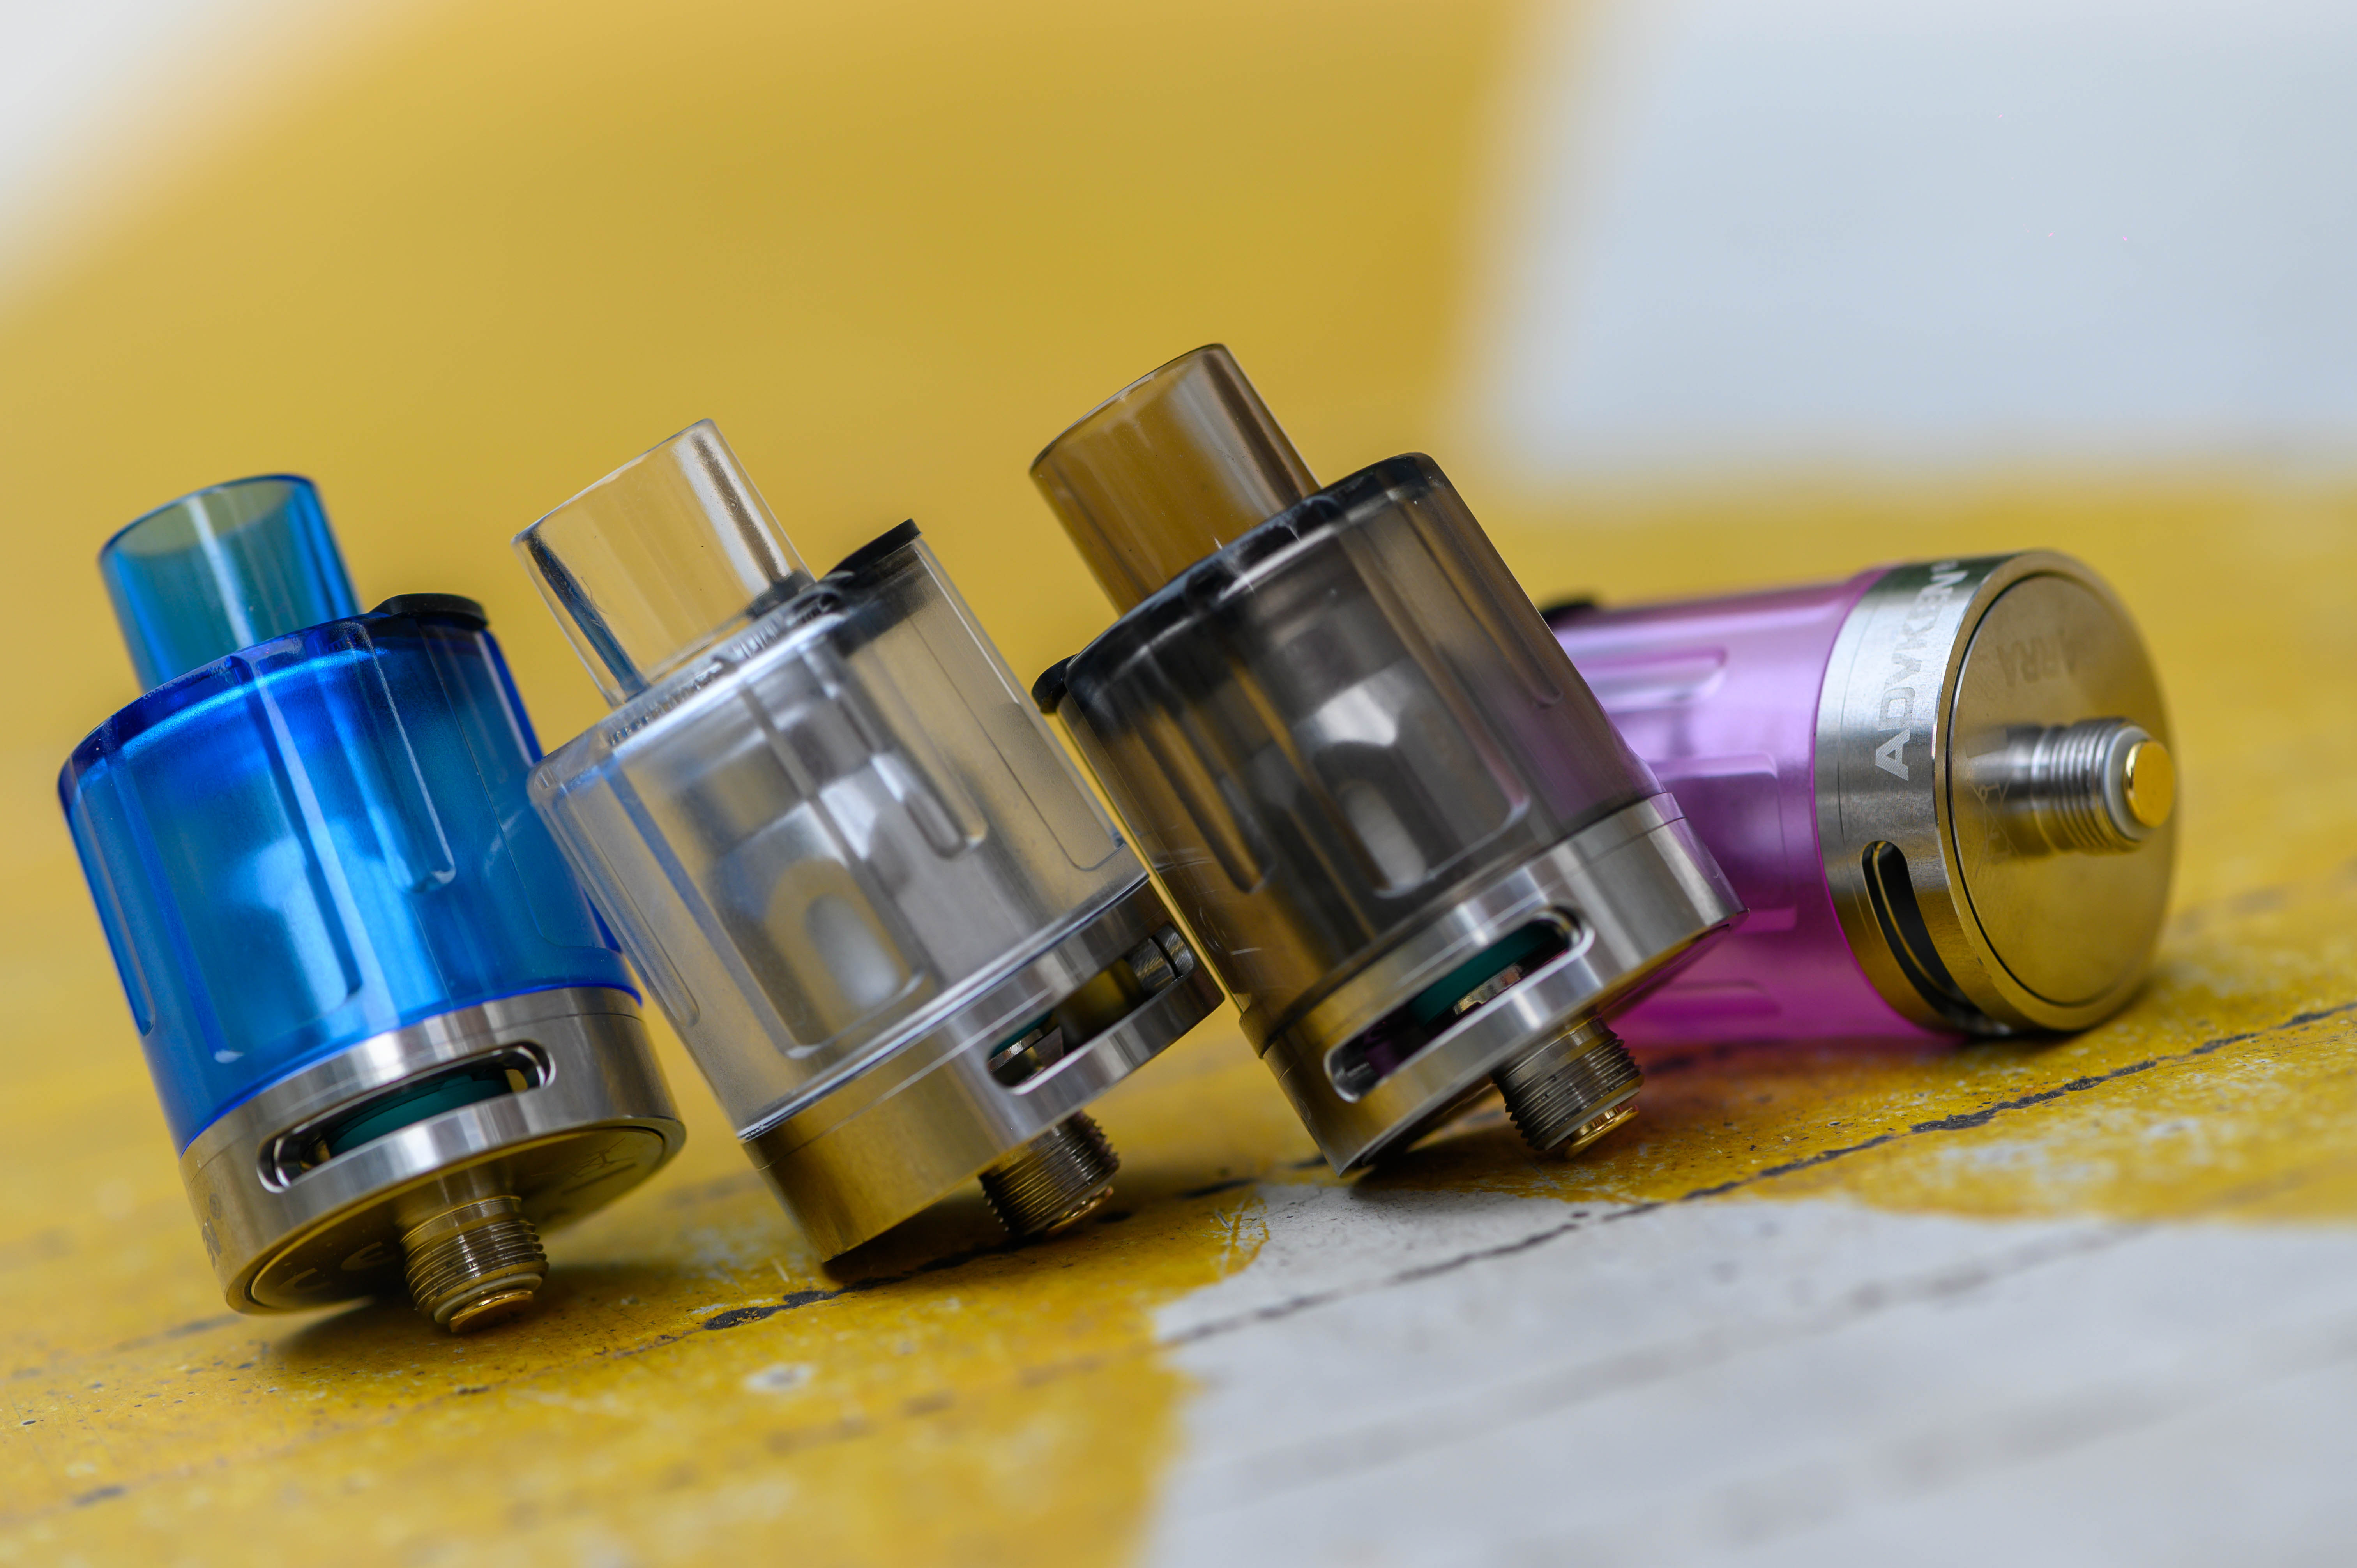
Based on the different coil construction, the atomizer can classified as two types: RBA and sub-ohm tanks. The RBA, abbreviation from ‘Rebuildable Atomizer’, is a general name to any atomizer needs DIY wick with heating wire and cotton strips which also including RDA, RTA, and RDTA.
RDA, abbreviation from ‘Rebuildable Dripping Atomizer’, is normally including deck, single air chamber and drip tip. It works by heating the wick that vapors can DIY coil’s types or resistance. When vaping with a rda, it heats the e-liquid stored on the cotton strips and juice well. After several vaping times, vapors need ‘dripping the e-liquid’. Besides, RDA can produce a big cloudy with a strong flavor, which is extremely welcomed by many advanced vapor in the ‘Cloudy Vape Competition’
RTA, abbreviation from ‘Rebuilable Tank Atomizer’, Chinese vapors like to call it as ‘E-liquid Storage Tank’. It is a DIY atomizer with a inner air chamber connected the heating deck and central airway directly to the drip tip. The inner air chamber is covered with e-liquid which the e-liquid is stored by a glass or pei/pc tube. When vaping, the cotton on the deck wet by the e-liquid through the e-liquid leading hole on the inner air chamber. The biggest difference between RTA and RDA is the capacity, which means the rda can’t store much e-liquid as the RTA.
RDTA, abbreviation from ‘Rebuildable Dripping Tank Atomizer’. To make things easier, we can think that the RDTA is combined with RDA and RTA construction. The e-liquid is stored under the coil deck, and also equipped with an inner air chamber and wet the cotton by gravity when vaping.
Sub-ohm Tank, means the atomizer is used a coil head and its resistance below 1ohm. Regarding vaping, the coil resistance is measured in ohms. The most important thing is the vapors can’t DIY the resistance by themselves as the coils heads are made and set coil resistance when they produced by the manufacture. As a tank, the sub-ohm tank also can contain different capacity e-liquid, which decided by its size and airway construction. This sub-ohm tank is easier for new vapors, no need to diy coils wick.
Speaking of atomizer vaping function, it is normally classified atomizers as MTL or DL, abbreviation from, mouth to lung and direct to lung two different vaping way. MTL usually means inhaling into the mouth firstly, then inhaling into the lungs when you vape. Normally with higher ohm device. DL, inhale straight down to the lung like you were sucking through a tube, sort of event. Normally with low resistance and cloudier vaping.
SETTING UP YOUR ATOMIZER
Follow up the instruction! Follow up the instruction! Follow up the instruction!
Seriously, we don’t joking. Each manufacture puts the instruction/manual in the box. The truth is that some atomizers do require following several steps to use it properly, or the product have some models of use then you can choose from. Read the instructions, follow them, if you are worried about you will break something, the best way is contact the manufacture for suggestion.
How to Wick Coils or CHANGE coil heads
DIY is a not a bad choice if you like it and won’t be difficult. To some degree, can save money just buying some material for pre-built coils. Also, no need to wait for the new coils if you can diy. So before making pre-built coils, you need prepare some things as following:
*Resistance wire, also called as heating wire. Kantian is the most common choice in the market, considering different vape mode, there are other options like, 316ss, nickel, titanium. And also need consider the AWG.
*Cotton Strips. Without any pesticides, pure and unbleached, Impeccable taste, and Long fiber, wick fast and superior absorption.
*A coil ‘guide’. This is what you’ll wrap the coil around to shape it.
*Pliers and tweezers to take the atomizer head apart and properly align the leads.
*Wire cutters, scissors, or nail clippers to snip the legs of the coil to an appropriate size.
*A guider you can trust. Many vapor online know what they’re doing; find one whose instructions you understand and follow their lead.
What mentioned above is about pre-built coil part, then if you use a sub-ohm tank, replace a new coil head it seems easier. Get the new coil head, screw down the tank deck and old coil head from the deck, please be sure empty the tank when you screw down the old coil avoid any. Then screw the new coil on the deck. Please be sure don’t throw the old parts of tank anywhere, as some part maybe damage for the environment.
HOW TO REFILL ATOMIZER AVOID LEAKING
Each atomizer has its own refilling system, just follow up the instruction. Generally speaking, the most important thing for refill is locating the refilling hole and noting the capacity of tank. For RDA with mid-air flow hole, don’t over-refill the rda above the airflow hole, while the e-liquid will come out. Another thing to avoid leaking, just make sure the orings or silicon parts of atomizer works well, as it plays the core important role for seal.
HOW TO AVOID DRY BURN
Dry burn is normally caused that there isn’t enough e-liquid on the coils, no matter it is pre-built ones or sub-ohm coil heads. Make sure in-time refill, especially make sure the e-liquid lever can’t below the e-liquid leading holes for the RTA/RDTA or sub-ohm tanks. Another thing is make sure the coil wick or coil head are fully soaked(please let the atomizer stands a few mins after refill) before your first vaping.
There is much more about atomizer, what we talked here today just about the atomizer types and daily use of it. Anyway, don’t be afraid of the vape terminology even you are a new or inexperienced vapor, what we can move faster because we can learn. Just as the old saying goes: Live and learn. Hope all those can be helpful for you.