Components

Different Resistances Offer Different Taste Options
Read Resistance Automatically
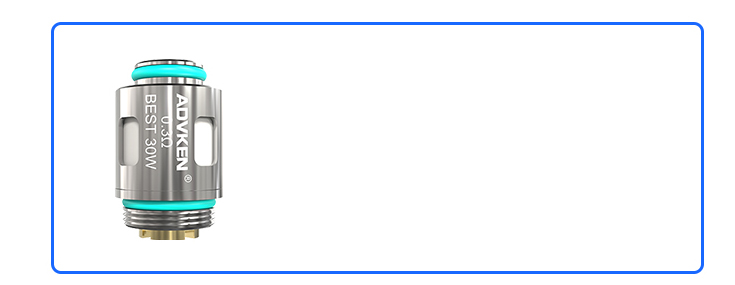
0.3Ω Coil Rectangular Hole
Recommended Power: 25w-30w
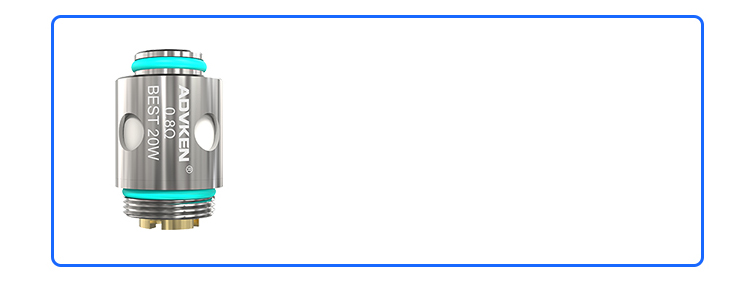
0.8Ω Coil Round Hole
Recommended Power: 15w-20w
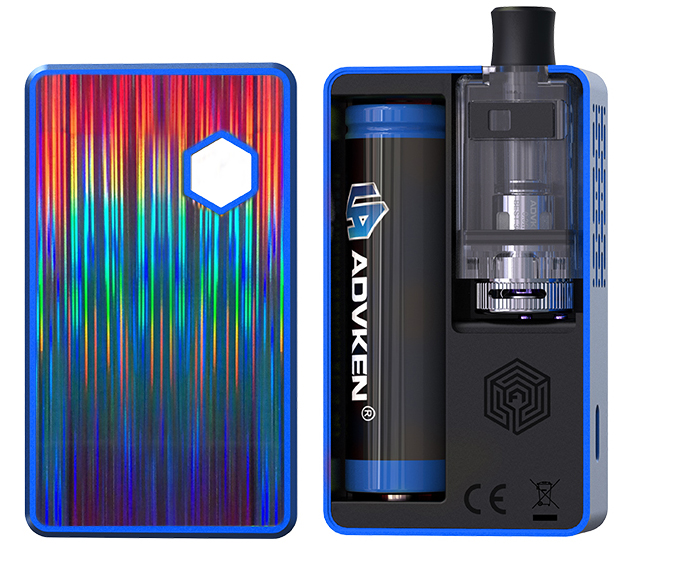

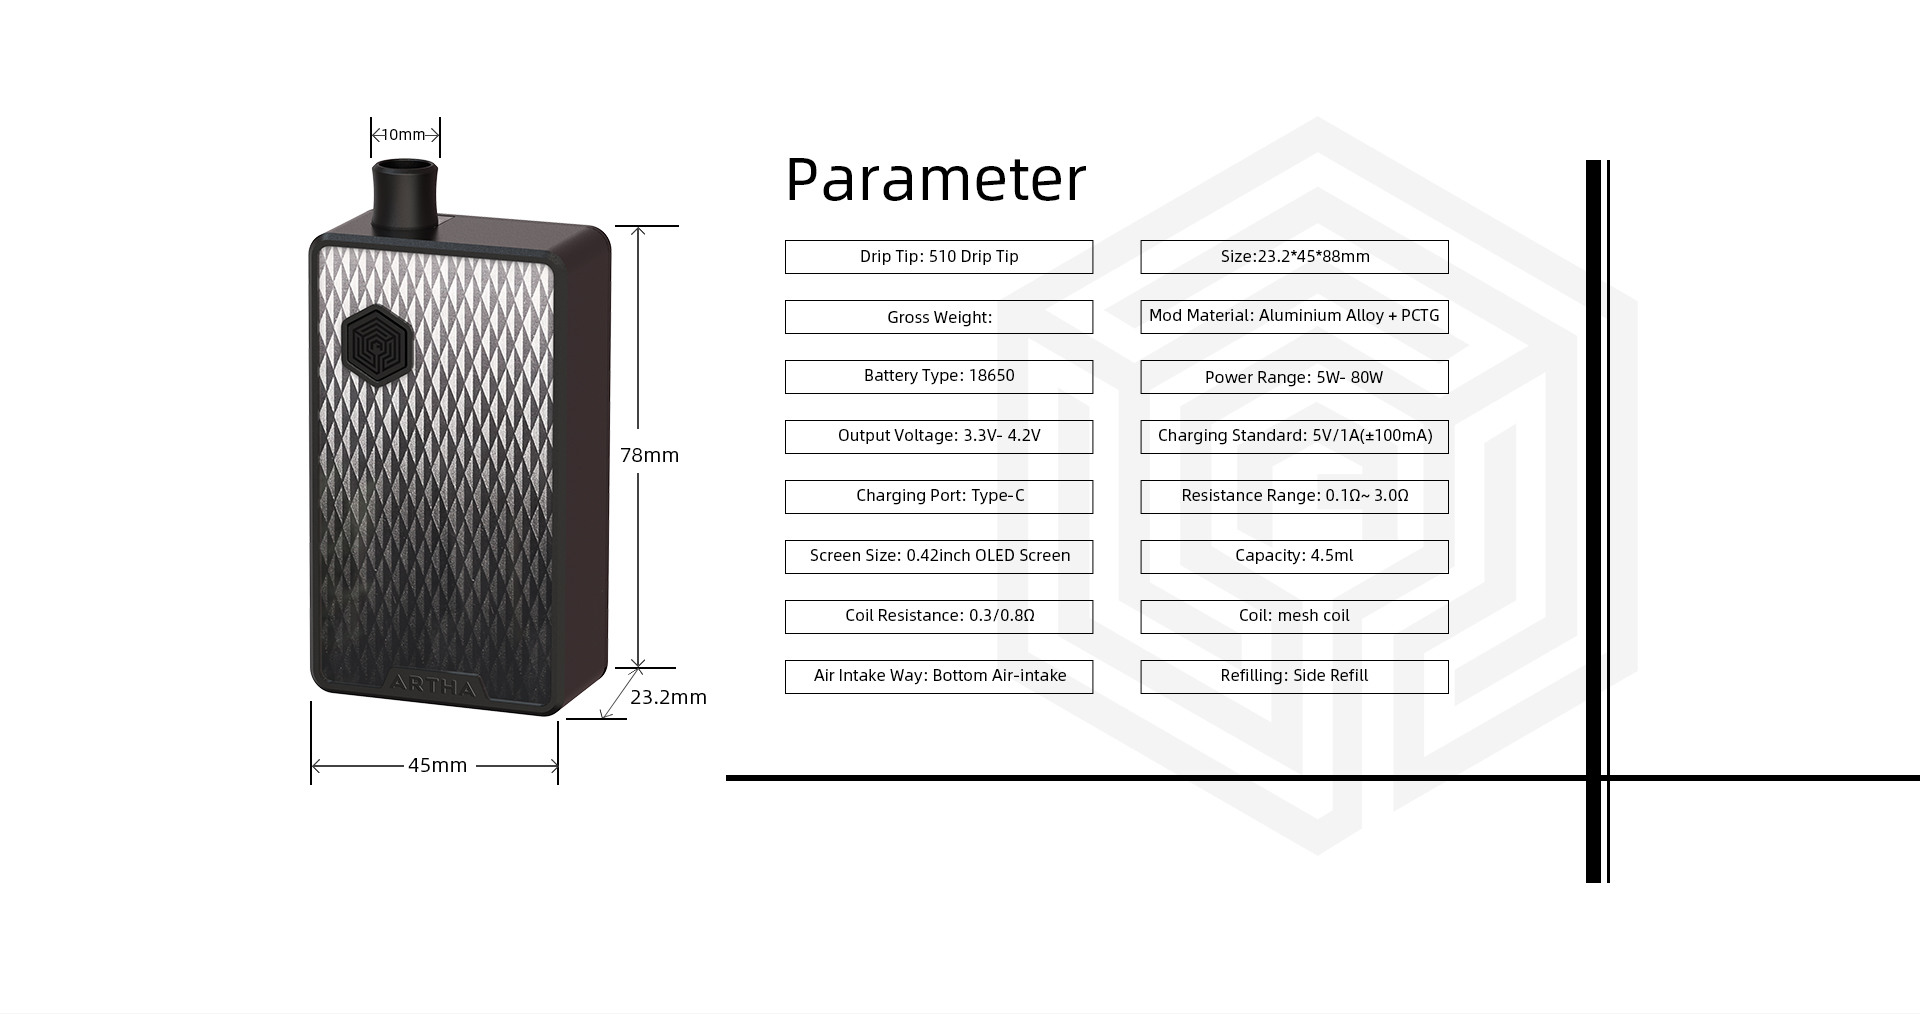
Artha Pod Mod is a brand new AIO device of Advken. Different from previous AIO devices, this new Artha Pod Mod is equipped with many amazing and uncomplicated features. With a maximum 4.5ml capacity and 80w maximum output, this tiny pod mod gives a geat lasting and powerful vape. Innovative and scientific airflow design deliver the natural flavor and make a effortless vaping. Let’s see more details as following. Welcome to the VAPOR WORLD of ARTHA POD MOD.
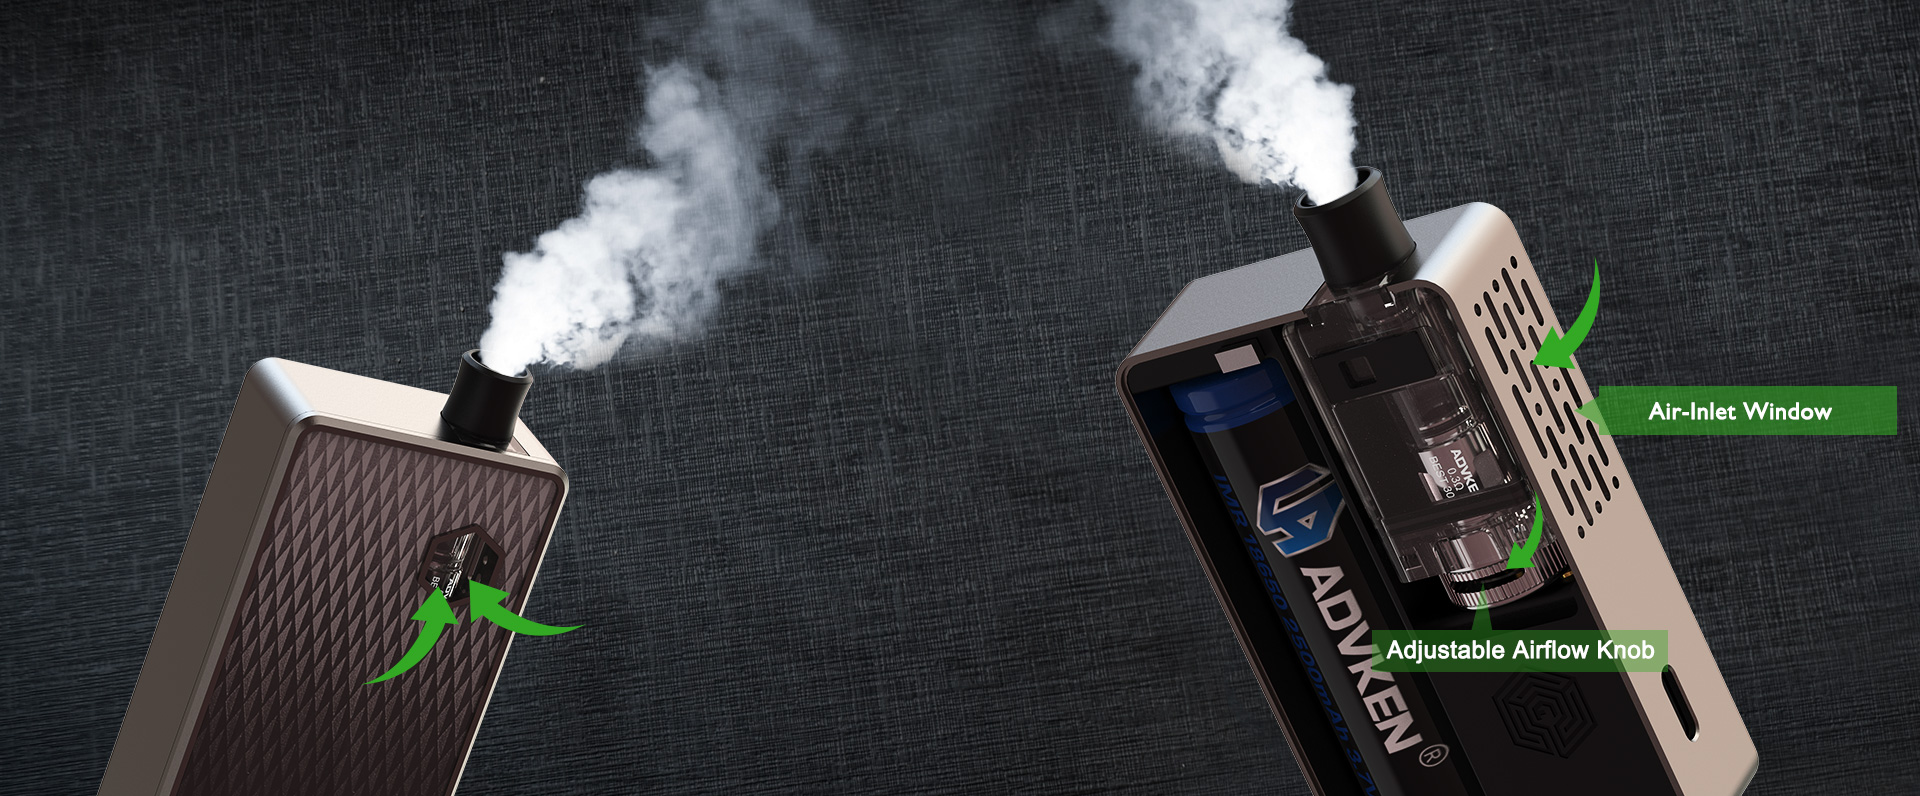
INNOVATIVE AIRFLOW DESIGN FOR HUGE CLOUDY
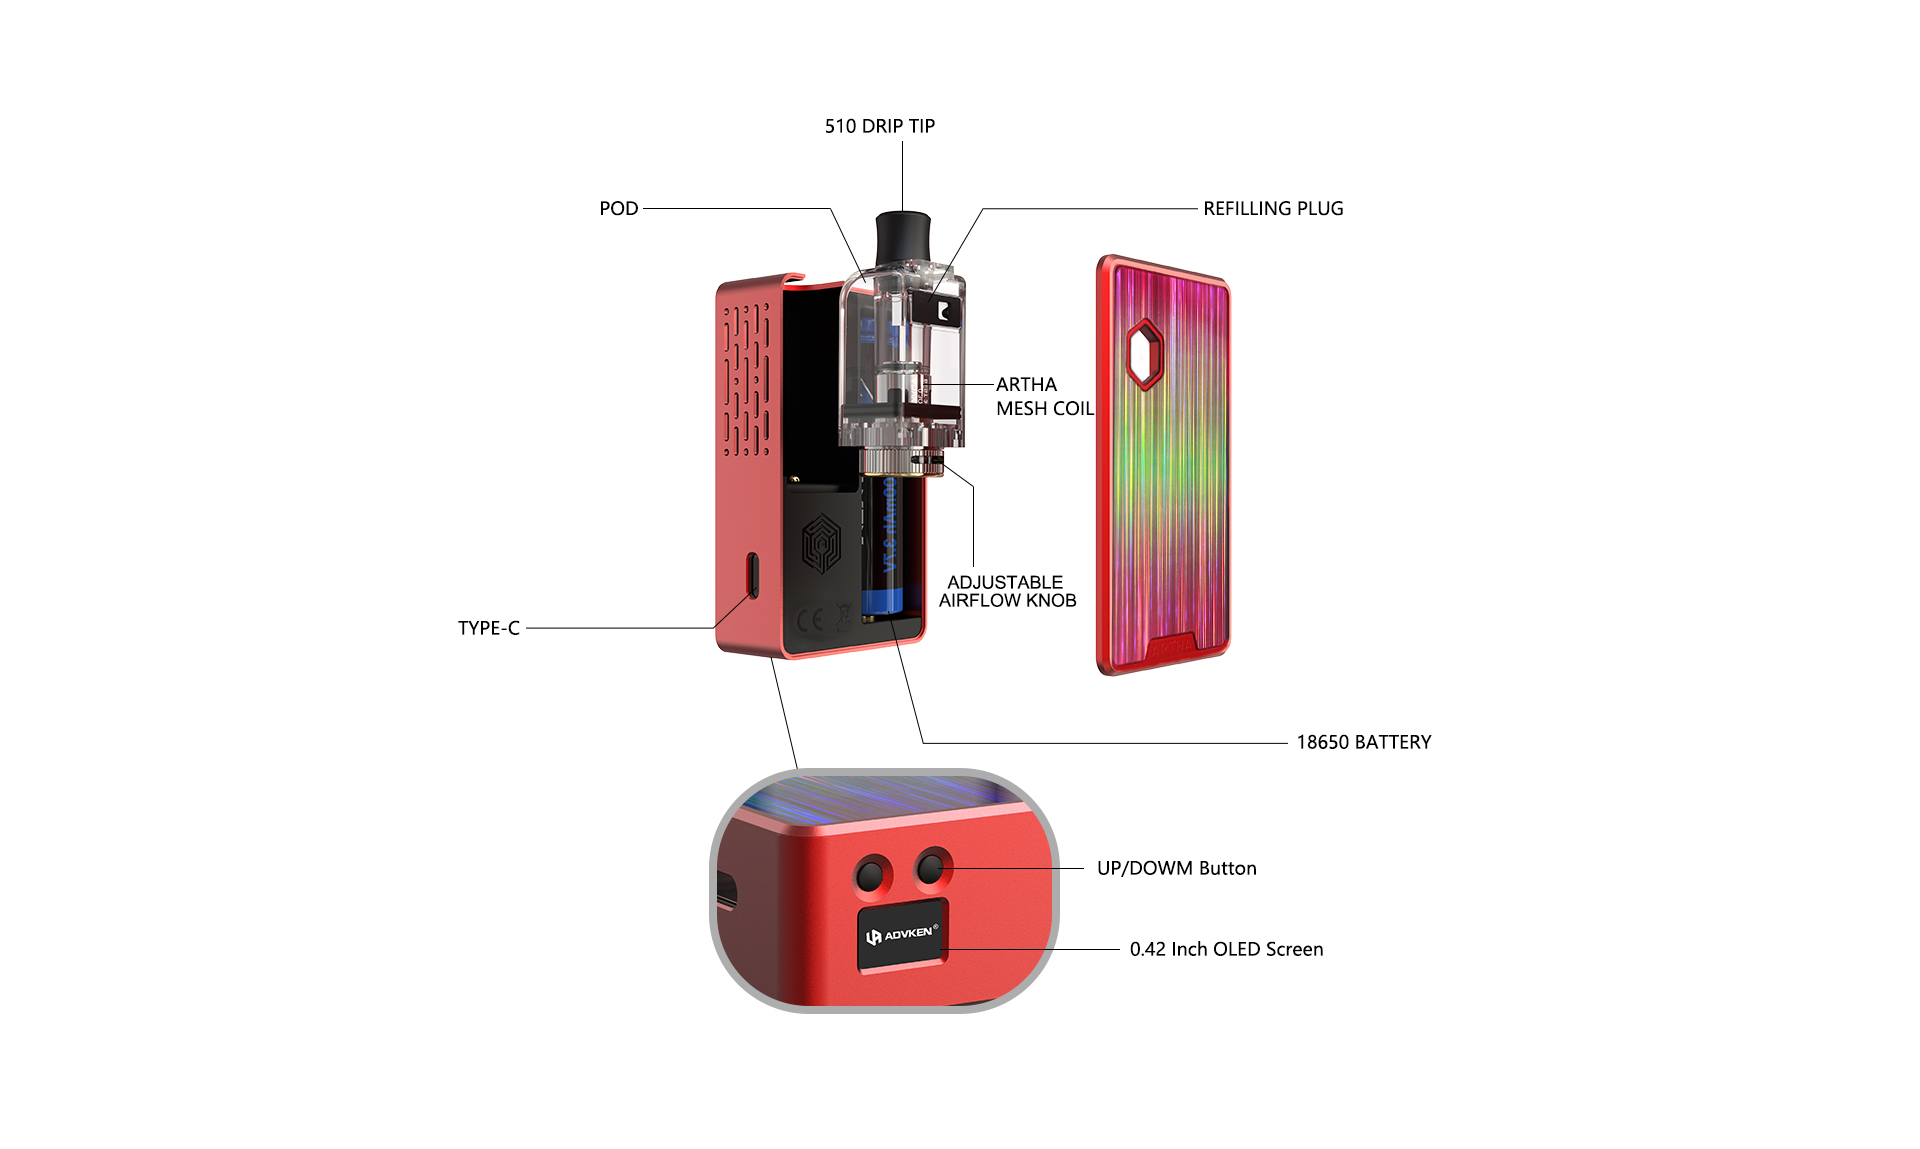
Artha Pod Mod adopts a new airflow way, the front and side dual-window system. The front hexagon hole and the side enlarged unregular grid area, which is designed for heat dissipation, that make suew air enter from both sides and there is enough airflow reaches to the coil directly. Beside, the 2-airflow-inlet system also works as a eliquid note window, make sure in time refill. What you need do is just vape gently and enjoy the effortless vapor.
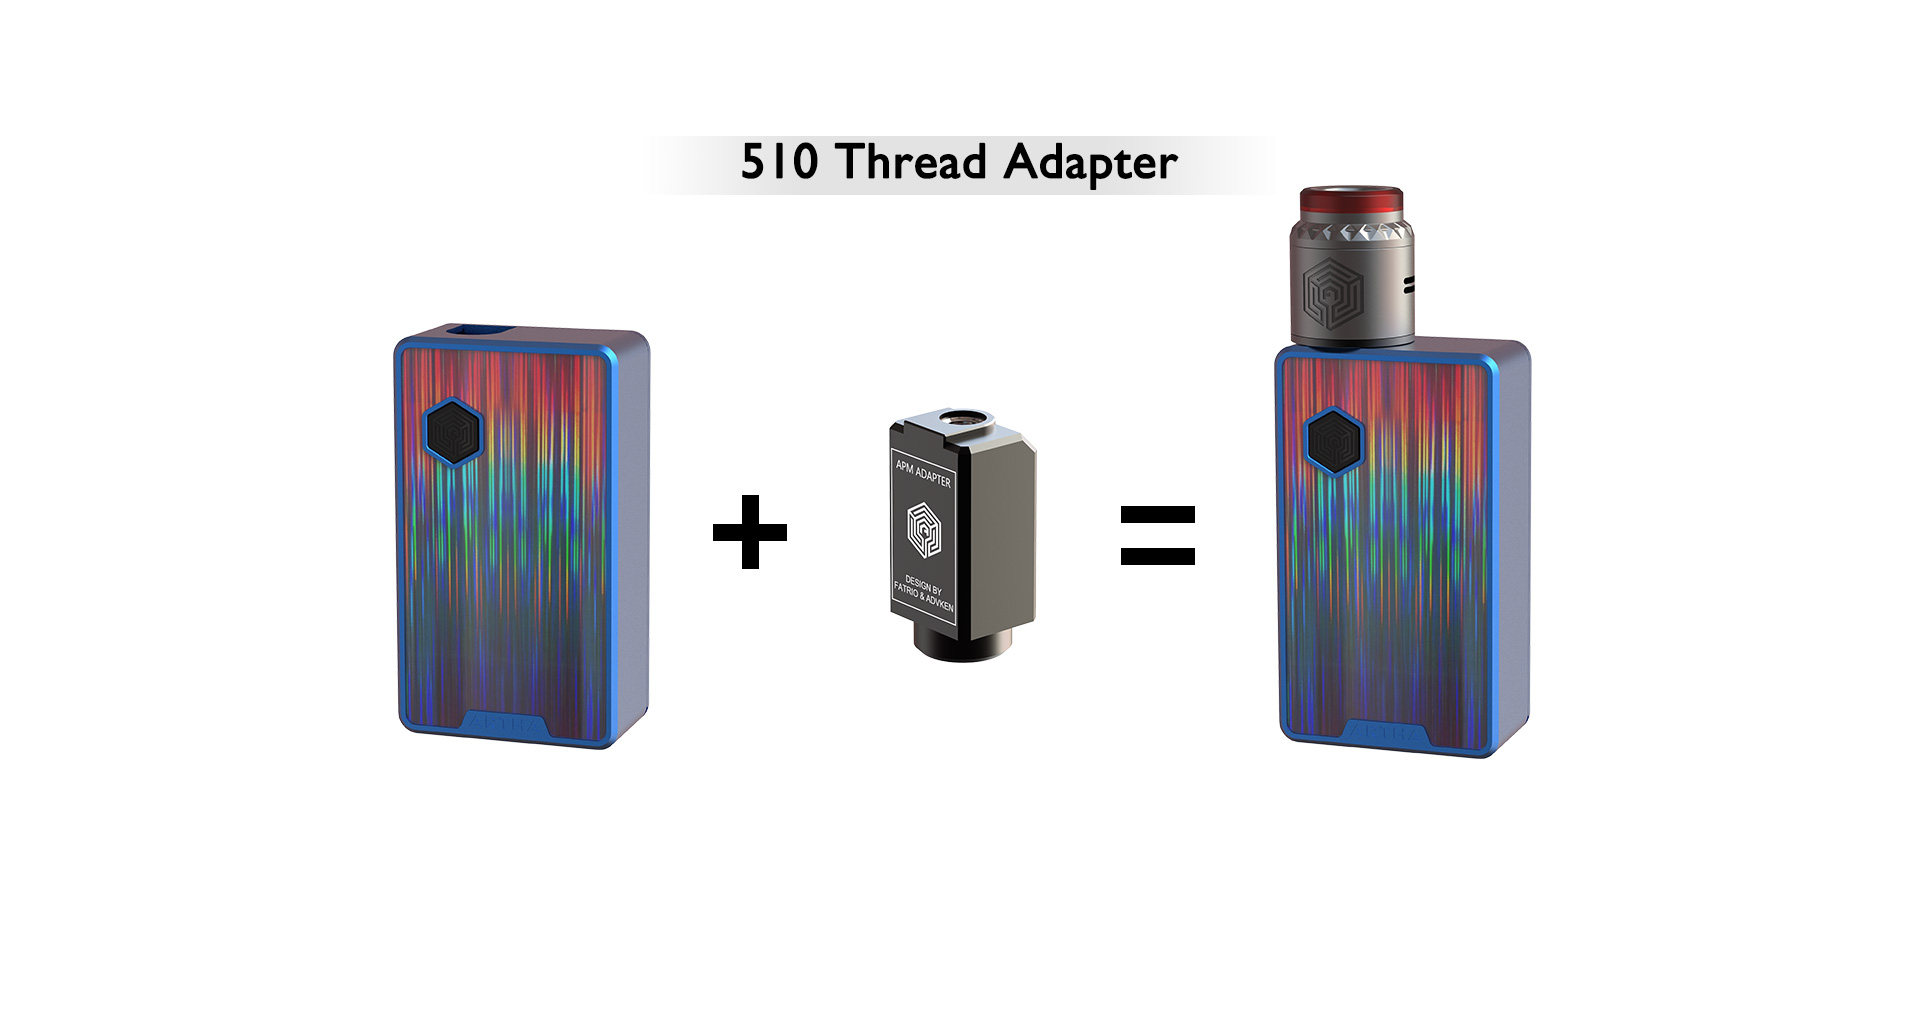
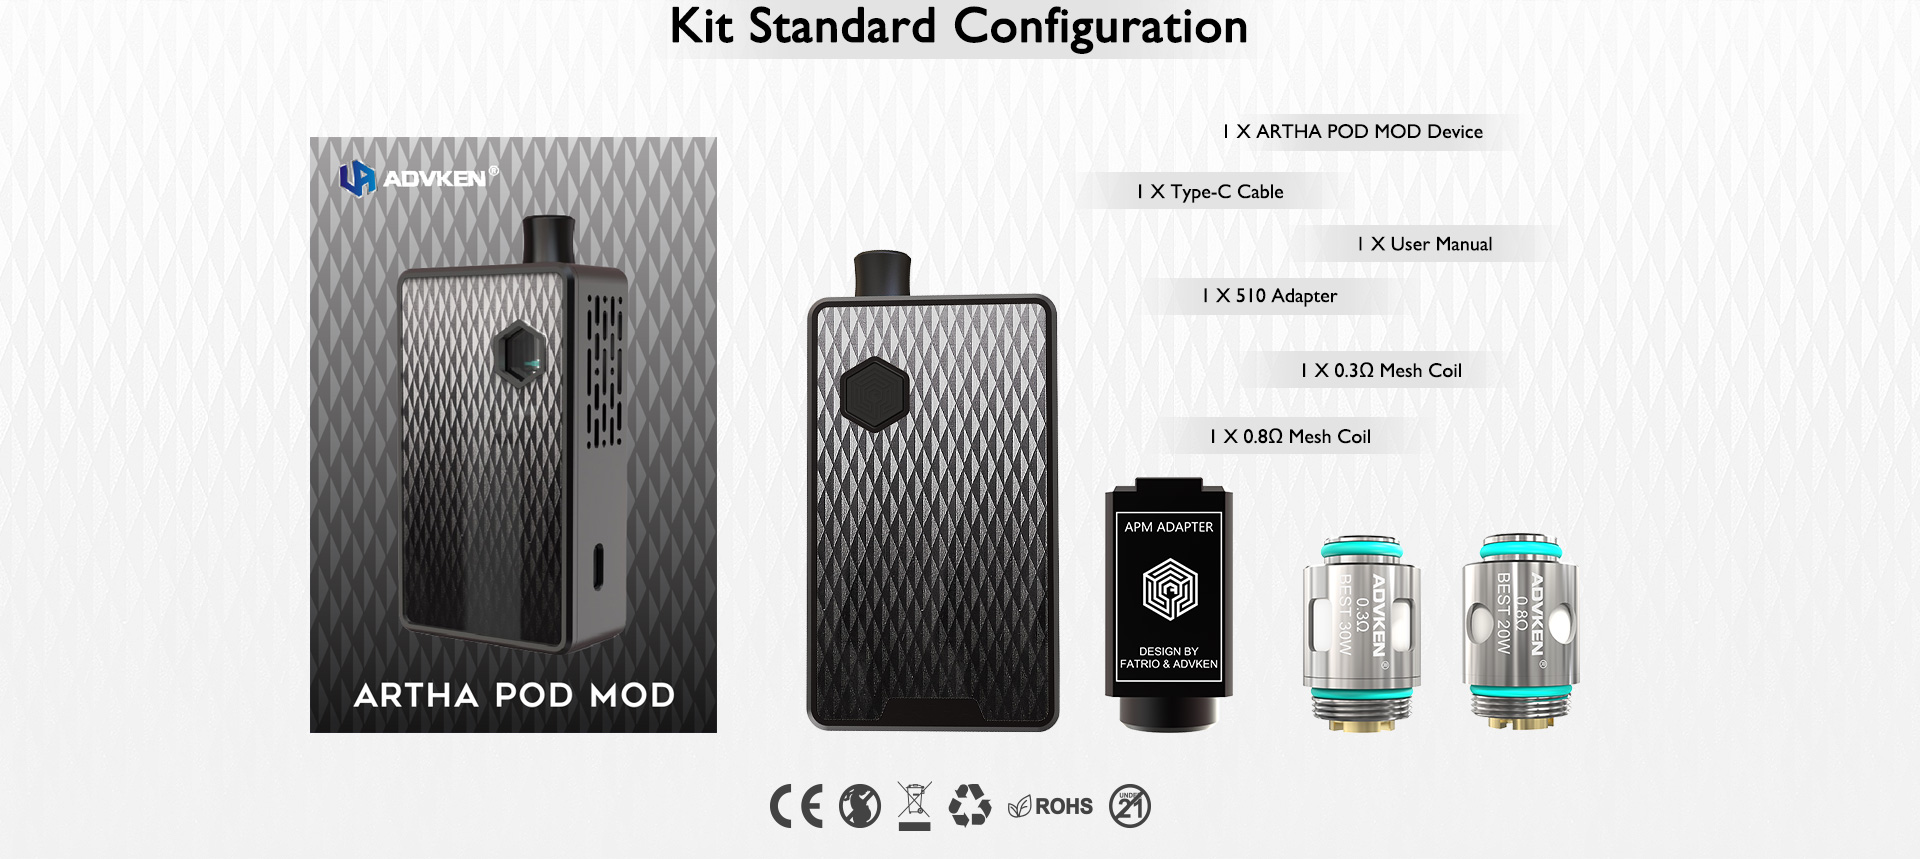
This Kit contains a 510 artha mod thread adapter, when you need a mod for any atomizer,this maximum 80W power mod will meet your need.
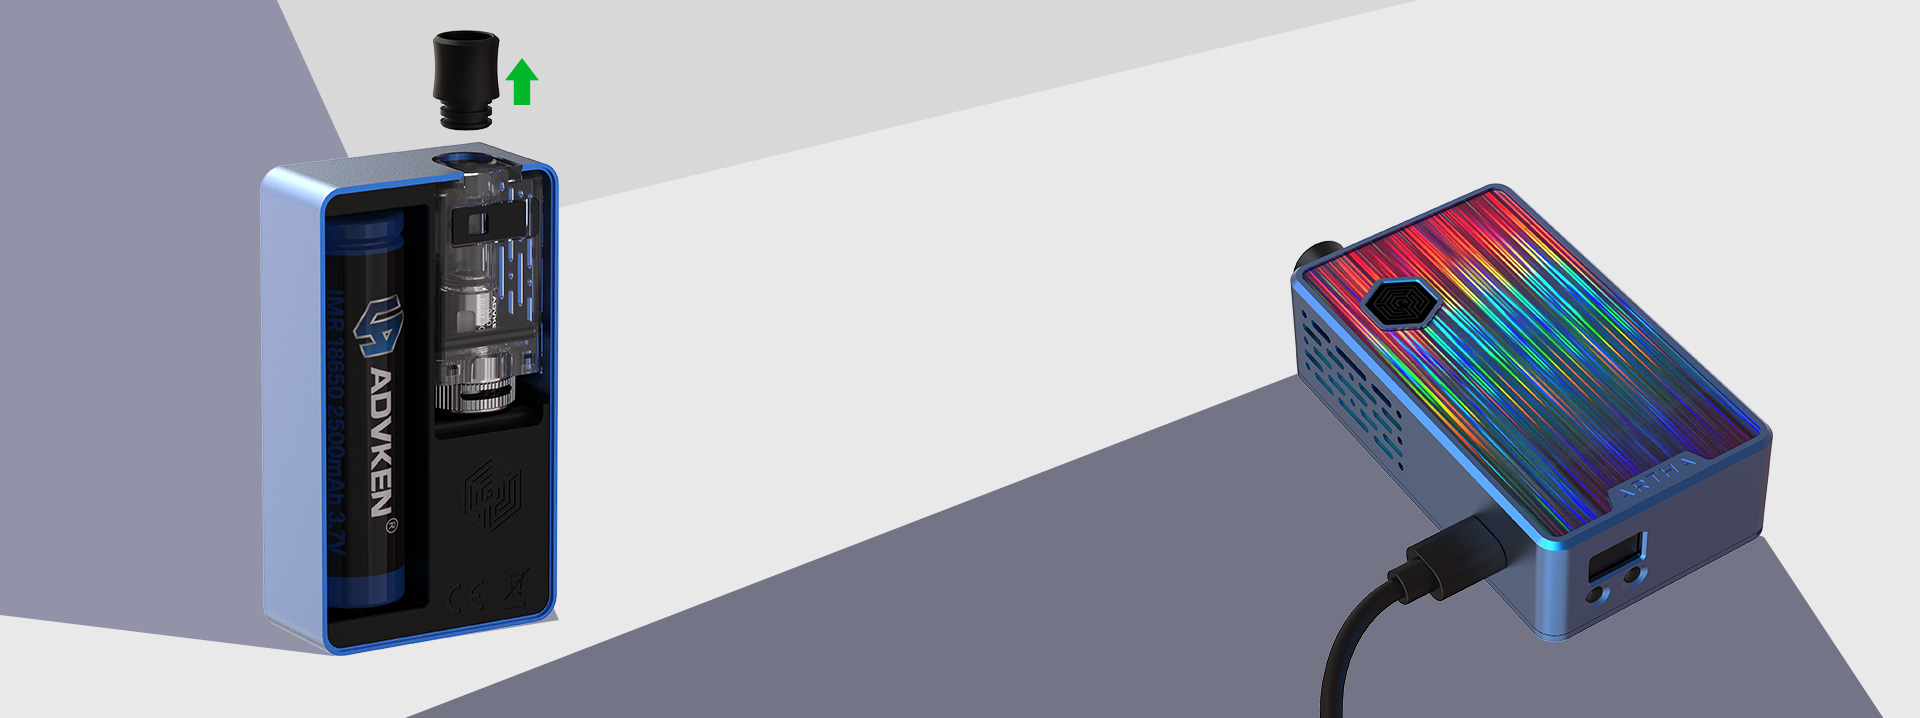
Replaceable 510 Drip Tip
Artha Pod Mod is powered by an external replaceable 18650 battery which provides long-lasting power to the entire device. Takedown the battery back cover you can put the battery inside easily. It won’t be a long wait for charging once connected with the Type-C slot.
How to fill with E-liquid
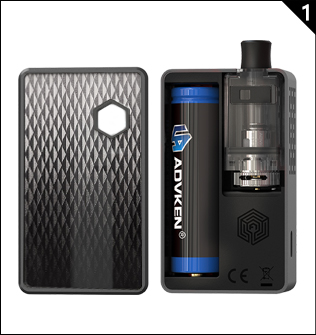
Step 1: Takedown the back cover
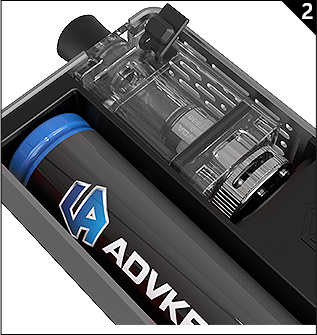
Step 2: Unplug the refilling silicon plug on the side of the pod
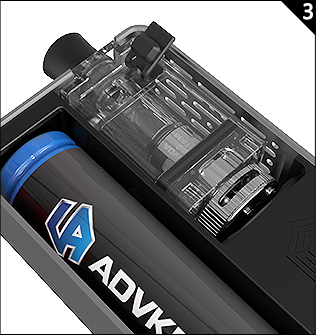
Step 3: Refill pod from e-liquid filling slot (recommend to keep three fourths full)
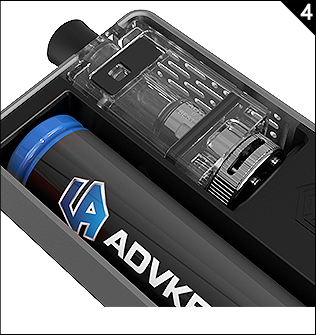
Step 4: Press back the silicon plug firmly and wait for at least 5 minutes to make sure that cotton is fully soaked before use to avoid dry-burning.
How to change coil

Step 1: Takedown the back cover
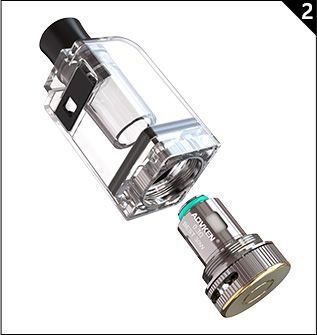
Step 2: Take out the pod and unscrew the knob of bottom
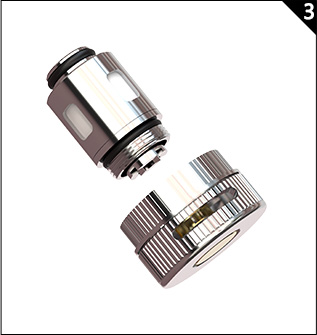
Step 3: Unscrew the old coil then screw the new coil to the knob
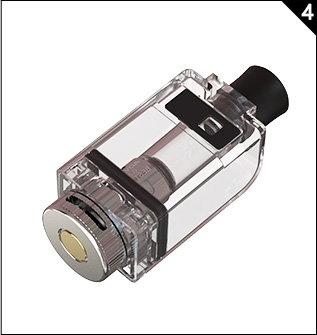
Step 4: Insert the coil and screw the knob firmly
